7 Tips for Sourcing Dinosaur Diorama Supplies
Building a convincing prehistoric scene begins with choosing the right Dinosaur Diorama Supplies, not with painting the final backdrop. A sturdy base, accurate figures, textured ground, and suitable adhesives determine how believable the finished display feels. This guide introduces seven practical tips for sourcing each component with care. It focuses on scale, durability, safety, and factual detail. Good research matters.
From hands-on classroom and hobby builds, I have learned that inexpensive materials can work surprisingly well. However, weak foam, warped wood, or unclear product measurements can undermine an otherwise thoughtful scene. Check dimensions before ordering. Compare material descriptions, return policies, and supplier photographs. For painted items, look for clear finish information and choose products suitable for the intended setting. When accuracy matters, consult reputable museum resources or published paleontology references rather than trusting dramatic packaging claims. This keeps the display imaginative without confusing artistic choices with scientific evidence.
The seven tips will help you build a focused shopping list and avoid unnecessary purchases. They also improve visual relationships between plants, terrain, and dinosaurs. There is no perfect supply list. My own early models used oversized plants and overly glossy water. Those mistakes taught me to test proportions on the base before committing. A little revision often produces a more credible result. Whether you are designing a school project, a display case, or a detailed hobby scene, careful sourcing gives every layer purpose. This guide begins with practical choices, credible references, and room to improve.
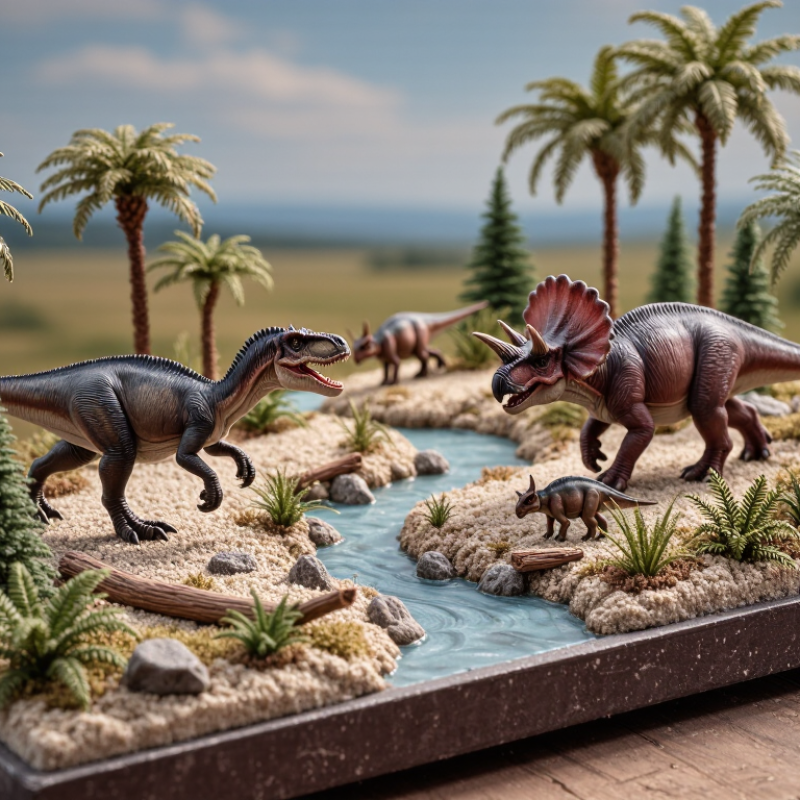
Define the Diorama’s Dinosaur Theme and Scale
Define the Diorama’s Dinosaur Theme and Scale
Choose the scene before buying supplies. A Late Jurassic floodplain needs different plants, rocks, and lighting from a Cretaceous shoreline. The theme also controls dinosaur behavior. A hunting scene requires open ground, while a nesting scene needs shelter and textured soil. Keep a reference sheet nearby. Use museum collection databases and current paleontology publications to check body shape, posture, and habitat details.
Scale prevents expensive mistakes. A 1:35 dinosaur beside a 1:72 tree will look immediately wrong. Measure the model’s total length, then match every object to that ratio. For example, a 12-meter dinosaur becomes about 34 centimeters at 1:35 scale. Circana’s 2023 U.S. toy-industry data reported an 8% sales decline, so careful material planning can reduce waste and unnecessary purchases. Buy sample foliage and substrate first. Test them beside the figure.
Museum displays also show why scale affects credibility. The American Alliance of Museums’ 2023 financial survey reported continuing pressure on institutional budgets, encouraging practical reuse and modular exhibit planning. That principle works for home dioramas too. Select lightweight foam terrain and reusable molds when possible. I still misjudge scale sometimes. Tiny errors accumulate. A footprint may need resizing, and a tree trunk may look too thick after painting. Photograph the layout from viewing height before fixing anything permanently.