How to Choose the Right Shower Arm in 2026?
How to Choose the Right Shower Arm in 2026?
A Shower Arm looks simple, yet it controls the showerhead’s height, reach, and spray position. The wrong choice can leave water hitting the wall, the curtain, or your shoulders unevenly. In 2026, shoppers must consider more than finish and appearance. Connection size, arm length, ceiling height, water pressure, and installation access all affect daily comfort.
Daniel O’Brian, a technical expert at SupplyHouse.com, offers a practical reminder: “Choose plumbing components for compatibility first, then consider style and convenience.” That advice remains useful when comparing stainless steel, brass, adjustable, wall-mounted, and ceiling-mounted options. A 6-inch arm may suit a compact bathtub, while a 12-inch model can improve coverage in a spacious walk-in shower. Measure carefully.
Small details matter.
Look inside the wall connection before purchasing. Some older homes use fittings that need an adapter, while newer installations may support standard 1/2-inch connections. A heavy rain showerhead can also place extra strain on a weak or poorly supported arm. This is where product specifications become more valuable than attractive photographs.
There is no perfect Shower Arm for every bathroom. A stylish matte-black arm may show mineral spots quickly. An adjustable model may improve flexibility but add another point for maintenance. I would not ignore cleaning habits, even though many buying guides do. The best decision balances performance, durability, installation difficulty, and personal reach. This guide explores those choices with practical measurements, realistic bathroom examples, and a little caution for assumptions that sound correct but may fail at home.
Understanding Shower Arm Types and Their Installation Positions
How to Choose the Right Shower Arm in 2026?
Understanding Shower Arm Types and Their Installation Positions
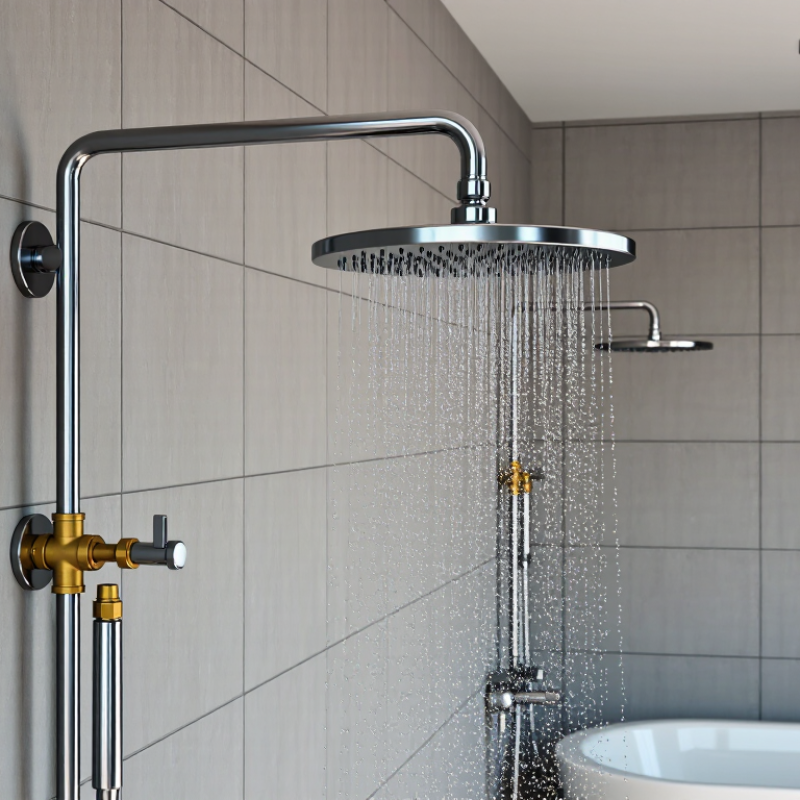
A shower arm connects the water outlet to the showerhead, but its shape affects comfort and coverage. A straight wall-mounted arm suits compact bathrooms and standard showerheads. An angled arm directs water outward, helping taller users avoid standing against the wall. A gooseneck arm adds height without opening the wall. It can feel more spacious.
Ceiling-mounted arms create a centered rain-shower effect. They work best when the ceiling outlet aligns with the user’s standing position. Measure the enclosure before choosing this design. A long arm may strike a door or look visually heavy. Adjustable arms offer flexibility, especially in shared bathrooms. However, extra joints create more possible leak points. Simple is often safer.
Position matters as much as type. Keep a wall-mounted arm high enough for comfortable clearance, usually above the tallest user’s head. Check the showerhead angle before sealing the fitting. A small change can move water onto the floor. That mistake is easy to miss during a dry installation. Use thread sealant approved for plumbing connections, then test slowly for leaks. I would not rely on hand-tightening alone. Over-tightening can damage concealed fittings, though I have seen it happen during rushed installations. Confirm local plumbing requirements, wall strength, and access to the pipe connection. A carefully measured position may still need adjustment after the showerhead is attached.